Track record metrics
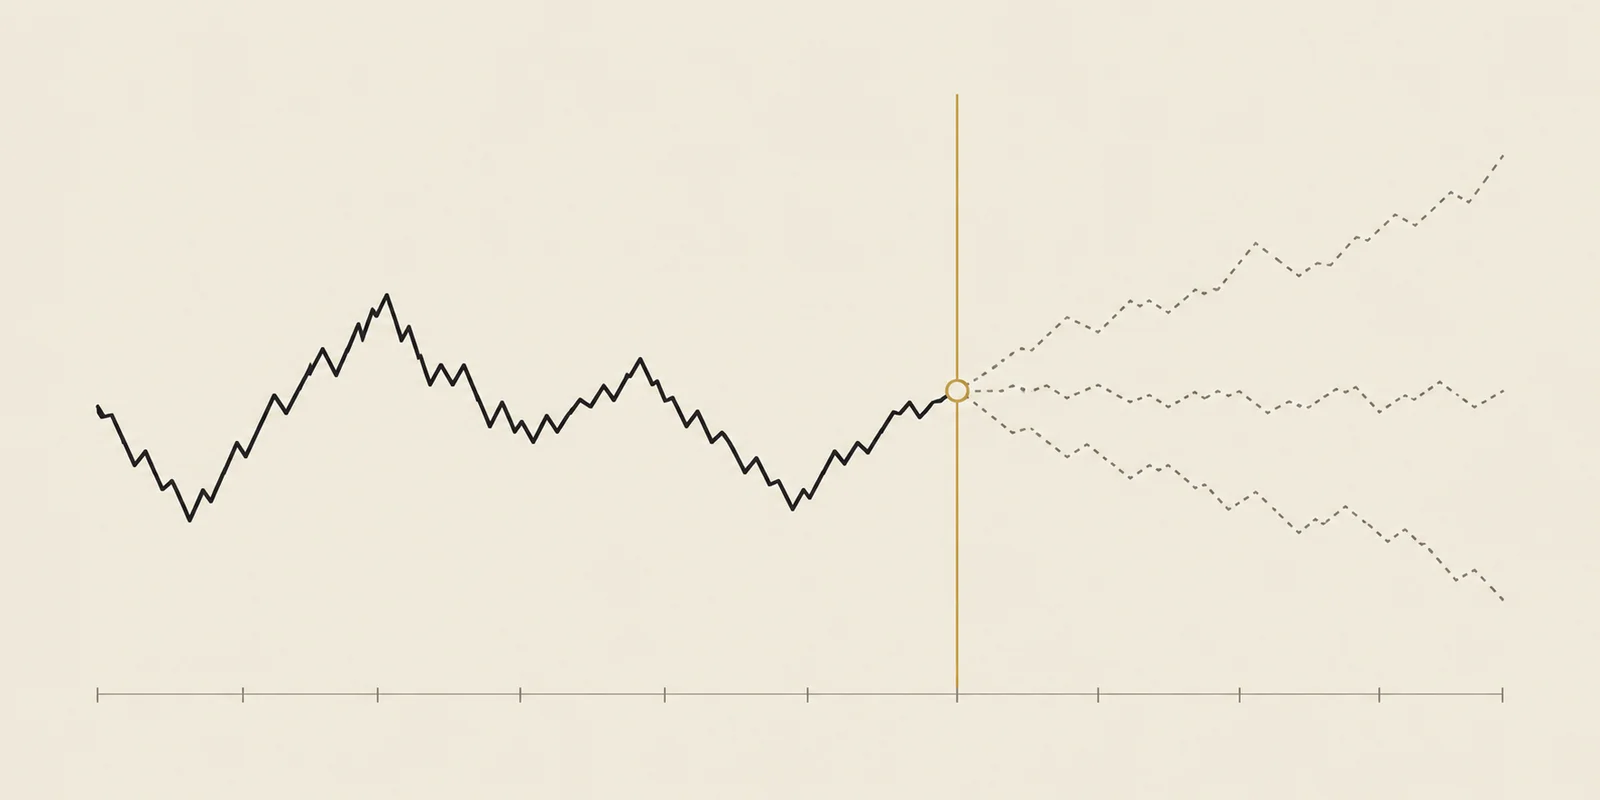
A track record describes trade outcomes, account growth and the losses along the way.
Read the guide →
A trade’s entry, safety exit and target let you compare its planned loss with its potential gain. We’ll use one $100 stock example to calculate that ratio, size the position and measure the eventual result.
A risk/reward ratio compares the planned loss on a trade with the potential gain to its target. Suppose you buy at $100, set a safety exit at $95 and choose a target of $110. Those illustrative prices give you $5 of planned risk and $10 of potential reward per share, written as 1:2.
The safety exit is often called a stop-loss. The distance to it establishes the planned risk, although a gap or delayed exit can make the actual loss larger. A target gives you a price at which to evaluate or close a winning trade.
Write down these prices before entering. They let you judge how much of the account the trade would put at risk and whether a later entry would still fit the plan.
For this long trade, calculate the distances from the $100 entry to the exit and target.
$100 entry − $95 safety exit = $5 per share. This is the distance used to size the position.
$110 target − $100 entry = $10 per share. The gain depends on reaching and filling at that price.
$10 reward ÷ $5 risk = 2. Write risk/reward as 1:2, meaning one dollar of planned risk for two dollars of potential reward.
One R is the trade’s initial planned risk. In our example, 1R is $5 per share. An exit at $110 earns $10 per share, or +2R; an exit at $95 loses $5 per share, or −1R.
Position size converts that per-share risk into account risk. If an illustrative $10,000 account allocates $100 of planned risk, the $5 entry-to-stop distance allows 20 shares before other caps or costs. The position costs $2,000, while its planned loss is $100.
An exit at $93 would lose $7 per share, or −1.4R. The original $5 risk remains the denominator when recording the result. Moving the stop or receiving a worse fill does not reset the unit.
R lets you compare results relative to the risk planned for each trade. A +2R result on a $9 stock and on a $900 stock each earns twice that trade’s planned risk. Their holding periods, costs and dollar profits can still differ.
TradingPal’s setup records use R for individual trade results. Autopilot and live-account dollar expectancy use dollars; the metrics guide explains how the units affect comparisons.
A ratio becomes useful when you know how often its target and exit rules have produced gains or losses. With exact fills and no costs, a 1:2 plan breaks even when one-third of trades win: one +2R gain offsets two −1R losses.
Moving the target from $110 to $115 improves the planned ratio in our example from 1:2 to 1:3. It also asks price to travel farther. You need to measure how often that revised target is reached before concluding that the change helps.
The average of the recorded wins and losses is called expectancy. If ten trades finish at a combined +3R, their average is +0.3R per trade. Costs and losses beyond the planned stop must be included on the same basis. The win-rate and profit-factor guide works through this relationship.
TradingPal draws the entry trigger beyond a qualifying pattern’s boundary, a safety exit beyond a relevant recent turning point, and a target projected from the pattern’s height. The entry-to-exit distance establishes 1R.
The exit policy also matters. Some bullish pattern trades switch to a 10-day moving-average exit after reaching the target, so their realized gain may differ from the projected ratio. The backtesting methodology describes those rules. The table below reports completed results from the latest published simulation.
| Pattern | Usual break | Win rate | Avg return | Backtested trades | Fresh (45d) |
|---|---|---|---|---|---|
| Bullish pennant | Up | 54.5% | +3.6% | 6,817 | 86 |
| Bearish pennant | Down | — | — | — | 0 |
| Ascending triangle | Up | 48.9% | +2.6% | 1,753 | 19 |
| Descending triangle | Down | 48.9% | +2.6% | 1,753 | 6 |
| Symmetrical triangle | Either way | 48.9% | +2.6% | 1,753 | 80 |
| Falling wedge | Up | 44.3% | +2.9% | 1,149 | 60 |
| Rising wedge | Down | 52.0% | +1.6% | 390 | 9 |
Historical results of a simulated strategy, refreshed nightly. Triangle rows show their usual break direction's family; each guide breaks out both directions.
The track-record panel below reports historical average return in R. A value of +0.58R, for example, would mean the recorded trades averaged 58% of their initial planned risk in profit. It includes wins and losses; it does not describe the target on the next setup.
On a chart, compare the entry, safety exit and target with the $100, $95 and $110 example. Then check the historical results for the exit rule you intend to use. A planned ratio and a realized average answer different questions.
Not a screenshot — this is the real panel from the screener, populated from the latest completed stored nightly result.
For a long trade, subtract the safety-exit price from the entry to calculate risk, and subtract entry from target to calculate reward. $5 of risk and $10 of reward gives a 1:2 ratio.
Evaluate it with the measured win rate and actual sizes of wins and losses. A larger target may be reached less often, and costs or gaps can change the result.
A +2R result earns twice the trade’s initial planned risk. With $100 planned at risk, +2R is a $200 profit.
With exact planned fills and no costs, it breaks even at one-third, or about 33.3%, winning trades. Actual fills and costs can raise that requirement.
Yes. A gap, slippage or an exit rule that waits for a closing price can produce a loss beyond the initial planned risk.
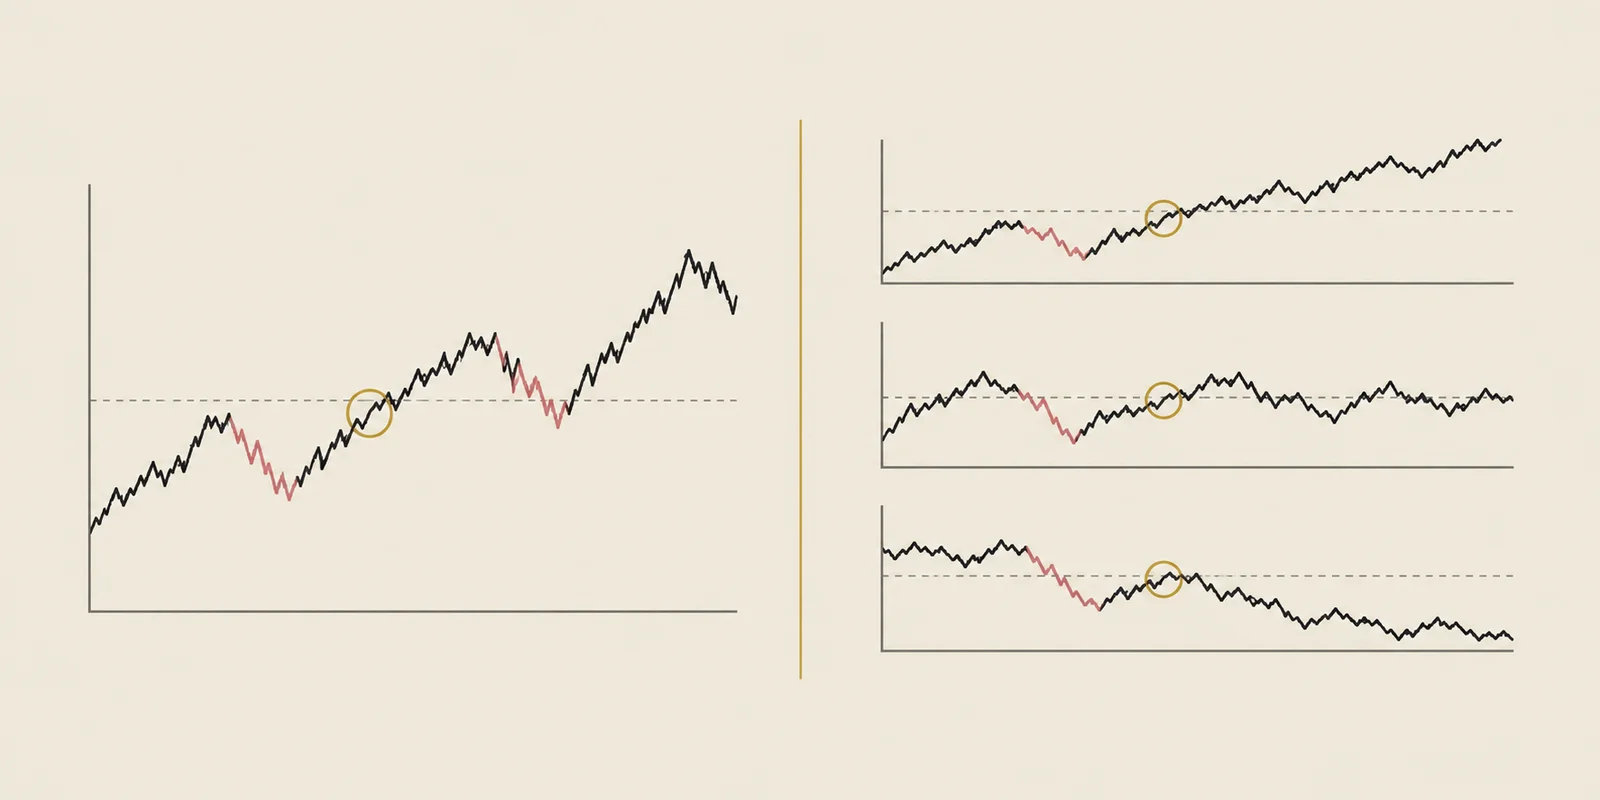
A track record describes trade outcomes, account growth and the losses along the way.
Backtesting applies a trading rule to historical prices and records the simulated outcomes.
A setup’s trade history and an account’s return answer different questions.
A bullish pennant forms when a sharp rally pauses in a small, narrowing range.
Educational content, not investment advice. Backtest statistics are historical results of a simulated strategy. Publication timing varies by record; the numbers describe the past, not the next trade.